4.01 How to test your bot and Go live - Introduction
Once all the conversation flows have been created and workflows have been defined, you are ready to deploy your bot and test out the flows just to be sure that all the conversations are working fine and the user details collected have been saved properly.
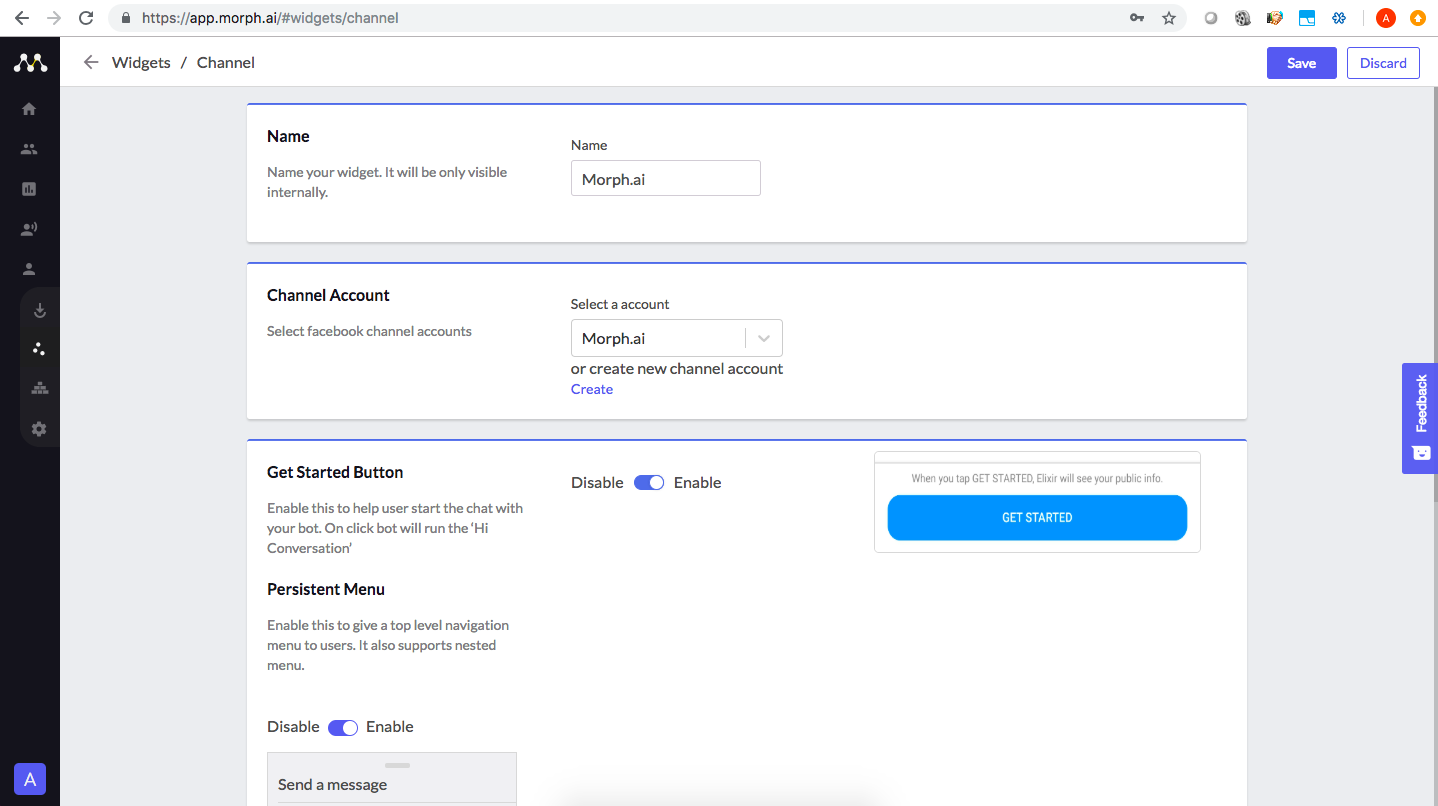
The first step is to choose the channel for the bot in the Channel tab. You can either deploy your bot on the brands Facebook page or you can place it on your website.1) FB Messenger Bot
Helps you to deploy the bot on the brands Facebook page. You can easily add the Facebook page on the platform. In case you do not have an already existing Facebook page, the platform provides you an option to create the page on the go.

Once you have added your Facebook page or designed your website chat, you need to choose the source for the bot in the Source tab.
There can be multiple ways to bring the user to the bot- Facebook ads, Email/SMS campaigns or Google ads. Based on the source you can choose one of the below options:
You are now ready to test the bot by clicking on the Facebook ads or directly using the referral link. All the activities happening on the bot is being tracked and you can check out the same in the Audience tab. Once you start interacting with the bot, your user profile will be created in the Audience section. You can click on your profile to check that all the activities happening on the bot along with the changes happening on the backend have been tracked. This helps you track the break point in the bot making it easy for you to create a perfect bot.

The first step is to choose the channel for the bot in the Channel tab. You can either deploy your bot on the brands Facebook page or you can place it on your website.
1) FB Messenger Bot
Helps you to deploy the bot on the brands Facebook page. You can easily add the Facebook page on the platform. In case you do not have an already existing Facebook page, the platform provides you an option to create the page on the go.
2) Website Chat
Helps you to place your bot on your website. The website bot can be a simple website chat (users can interact directly with the bot), a Facebook powered chat (users would need to login their Facebook messenger to interact) or a Hybrid chat which is a combination of bot Facebook and Website chat (if the user is already logged into his Facebook messenger then he can interact through Messenger, else the user can ave simple website chat.

There can be multiple ways to bring the user to the bot- Facebook ads, Email/SMS campaigns or Google ads. Based on the source you can choose one of the below options:
1) Ads JSON
Are used to connect the Facebook ads with your bot. It is in the form of a script that can be integrated in your Facebook ads and any user clicking on the ads will be redirected to the bot.2) Referral
Is a direct link to the bot and can be integrated with your Google ads or can be shared with the users in the Email/SMS campaigns. Any user clicking on the referral links will be redirected to the bot. Another important aspect of the referral links is that they are contextual and carry the context from the ads or Email/SMS campaigns on to the bot.You are now ready to test the bot by clicking on the Facebook ads or directly using the referral link. All the activities happening on the bot is being tracked and you can check out the same in the Audience tab. Once you start interacting with the bot, your user profile will be created in the Audience section. You can click on your profile to check that all the activities happening on the bot along with the changes happening on the backend have been tracked. This helps you track the break point in the bot making it easy for you to create a perfect bot.
Related Articles
Morph.ai - Introduction
Morph.ai is a chat based intelligent marketing automation tool that helps businesses leverage chat as a marketing channel. It is an integrated set of modules and analytics that help you manage the entire customer journey. Creating a bot on the Morph ...4.04 How to test your bot
Testing your bot is one of the most important step before going live. It is important to maintain a good user experience on the bot and therefore the bot needs to be tested for all the break points and end points. Before going live with the bot, you ...4.05 How to use Live chat?
What is Morph Messenger (Website Live Chat)? Live chat is a tool to engage, support and retain customers and provide real-time assistance to website visitors. Many business owners see live chat as yet another tool, just like email or phone, that can ...4.02 How to deploy your bot
The deployment process is made simple my the Morph.ai platform. It is divided into two sections, Source and Channel. Channel Channel tab lets you choose the channel through which you want to reach out to the users. You can either interact with your ...5.01 How to monitor your bot regularly - Introduction
This chapter will give you a brief of the ways by which you can monitor the activities on the bot. Now that your bot is live and running, you can keep a check on the conversations happening on the bot. Audience Tab Acts as a mini CRM which lists all ...